What is it about crown molding that everybody loves? The aesthetic appeal? The finished beauty? While those are obviously perks of this decorative finishing touch, it’s no secret that crown molding increases the value of your home because it looks elegant, sophisticated, and, with the right installation, can look entirely professional, even when you know you did it yourself.
Crown molding opens up the room and makes your ceilings look higher. It isn’t an easy do-it-yourself project, so it is not recommended for beginners, but with the right tools and a little bit of know-how, you can install your own crown molding and impress your guests. It’s important to make sure to give yourself a decent amount of time for this project because, as we said previously, it’s no easy task. It often takes a few days to accurately measure, cut, and install your crown molding and may take extra time if you’re on the beginner side of DIY projects.
As a quick review, crown molding, or ceiling trim, is a lot like the wood molding you are used to seeing on the floors. The main difference is that it’s on the ceiling and it is usually more elaborately shaped. When you step from hardwood to tile or look at stairs, you’ll see other types of molding, which is often used as a transition between rooms, wood planks going different directions, etc. Crown molding can actually be used as a transition as well if you decide to install hardwood on your walls, which is a popular trend at the moment.
So, let’s take a sneak peek at what crown molding entails, the vast array of simple and decorative options, and how you can install it like a pro!
Materials
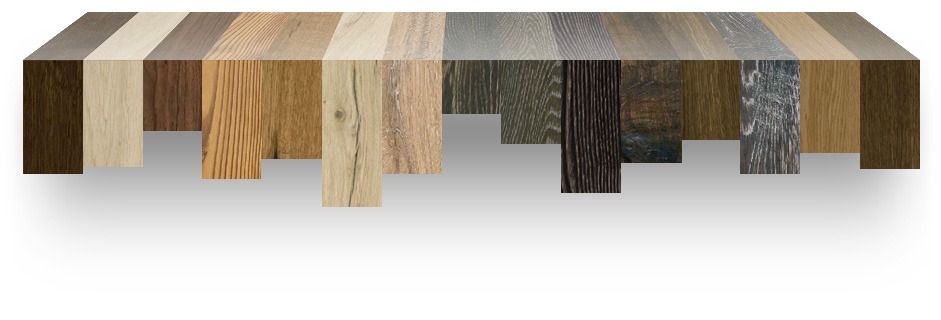
Let’s start with what you need to get this party started. If you’re looking for quality hardwood to use as crown molding, try specialty woodcuts from Hardwood Bargains. Besides the actual molding, you’ll also need:
- a hammer
- finishing nails
- a coping saw
- a miter saw
- paintable caulk
- a caulking gun
- a ladder
- a tape measure
- safety glasses
- a pencil
- wood glue
- paint (optional)
It’s always important to wear appropriate eye protection throughout the installation process. Any time you’re using wood saws or dealing with wood in your home projects, remember to protect your eyes from flying, errant splinters, and debris.
Measure Twice
The most important part of the project is to know the size of your walls. We always say measure, remeasure, and measure again, so you know how much molding to buy and how you’re going to cut it. It’s best to buy some extra, just in case. You might be able to return unused materials, depending on where you buy from so ask during purchase. Remember, you can measure as many times as you need to feel comfortable. Use a ruler or other straightedge and mark the bottom of the molding on your wall beforehand. You want this to look pristine, so mark it up like a professional.
You can use a framing square to mark the distance between the face of your molding edge to the corner and use it to create your molding layout. Most experts recommend starting at the wall opposite the room’s door, although if your room has multiple doors, try designating the door that most people enter through. That way, everyone will walk in and immediately see your fantastic crown molding.
If you want to be very sure your molding won’t warp later, let it sit in your home for a few days to ensure it becomes used to the levels of humidity in your house. Depending on the moisture in your home’s environment, the humidity could cause the wood to warp and crack, which you definitely don’t want. Allowing the wood to stretch naturally in the moisture before nailing it down can help prevent this dreadful problem.
Cut Once
You’ll want to cut your molding at an angle, similar to how it will be sitting on your wall. You can use a board or scrap piece to prop up the bottom of the molding and clamp it to the table for cutting. Figure out what length your molding should be and cut it in a straight line at a 90-degree angle.
Your wall is likely longer than your molding, so at times, you will have to join two pieces together along the same length of the wall. When doing so, make scarf cuts, ensuring that the second piece will overlap the first. Once you’re sure they fit together snugly, use wood glue to join them together and let it set before nailing the entire piece to the wall.
When you use a saw to cut molding to fit inside a corner, make sure to press the edges firmly against the saw table and side fence to cut at a 45-degree angle. Having a straight cut will make sure the molding fits snugly against the walls. If you’re worried about the wood splitting, you can drill pilot holes into your molding, about the same size as your finishing nails.
Cut Corners
Many people swear this step is actually the hardest part of the whole process, so proceed with caution. Your corners are super important, and because they sit where two walls join, your best bet is to use a coping saw. If there is accidentally a small gap, it can be filled in with sealing caulk.
Angles Are Important
When you’re cutting an inside corner, the bottom of the molding should be longer than the top part, and the reverse is true for an outside corner. When you cut a joint on the right side of the molding, set your saw to the left and have your molding sit to the left of the blade. For joints on the left, reverse the process and do everything to the right. Make sure to put the molding upside down into the saw.
Remember, most corners aren’t perfect 90-degree angles. So, use a few pieces of wood on your wall’s actual angles to determine the real angle you should be cutting at.
Coping
Coping a joint may sound like a silly phrase, but it actually means cutting at a slight angle. This allows the coped piece to fit tightly against the square-cut piece. Use a pencil first to darken the front edge of the joint, and then use your coping saw to cut as close to the line you just made as possible. Cut slowly so as not to splinter the delicate wood. Make small, gentle cuts at slight angles. Remember, you can always take off more, but you can’t take off less. If you really only need to take off an exceedingly small amount, try using sandpaper instead of the saw to fine-tune your pieces.
Triple Check
Hold up your molding to make sure that it fits nicely before doing anything to permanently stick it down. You might find gaps or small pieces that need to be trimmed, so being precise is key!
Copy and Paste
It’s time for the molding to hit the wall. For long pieces, you might want to ask a friend for an extra hand to help hold it in place. Nail it into place. Make the fit is as tight as you can get it, and use sealing caulk to cover up any accidentally overlooked gaps.
If you’re worried about outside corners since caulk doesn’t cover little sins there, ensure that you used paintable caulk. Painting your crown molding after installation can go a long way towards making it look that much more professional. And Viola! You now have beautiful crown molding you can admire, enjoy, and be proud of!
Sources
https://www.architecturaldigest.com/story/how-to-install-crown-molding
https://www.hgtv.com/design/decorating/design-101/how-to-install-crown-molding