If you are struggling to install wood flooring on your own, you aren’t alone. It’s a process that seems really easy to do without instructions, but in reality, it’s not quite as simple as it seems. While the process of installing your own wood flooring isn’t difficult, you have to know what to do (and what order to do it in) in order to get it right.
So, are you ready to learn how to install your wood flooring like a pro? Let’s dive into this DIY project together!
First Step: Choose Your Boards
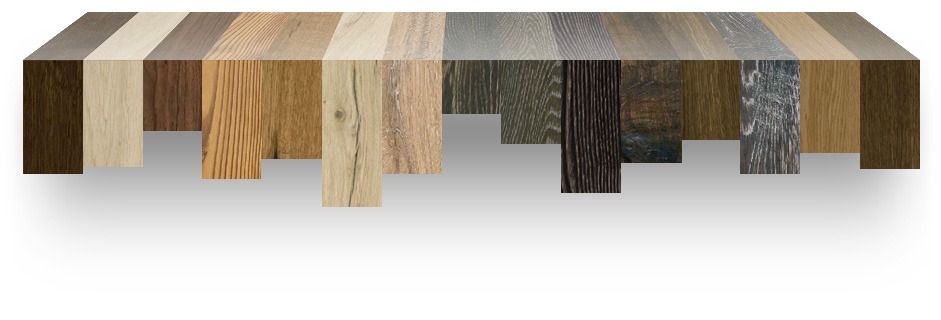
The first thing you need to do is choose the boards you want to use for your hardwood flooring. There are a ton of options out there, and each one has its pros and cons, but certain ones are better for certain types of homes and certain families. You will need to look at your budget, your lifestyle, and what you want out of your flooring before you make a choice.
Once you know the type of flooring you want to use, then you can move on to the next step: getting the dimensions right.
Next Up: Get Measurements
Accuracy is the most crucial part of your next step: you need to measure your room and get an accurate square footage measurement. When you order hardwood flooring, you always want to purchase more boards than you will need because you will probably make some cutting mistakes, and you may want to keep some boards for testing cleaning products. It’s always good to be proactive.
Be sure to measure the width and length of the room and then multiply them together to get accurate square footage.
Make Sure The Prep Work Is Done
Before installing wood flooring, you want to remove as much furniture as possible from the room. The clearer the room will be, the easier the process will become. You also want to do any fixes to the subfloor during this step. The most common fixes will be to correct squeaky floors. Take a long drywall screw and screw it into the subfloor where there are squeaks, and press the tips with your toes.
You also want to sweep and vacuum everything to clean it thoroughly. You don’t want any dust or debris getting in your way.
The final step of prep work is to roll vapor barrier strips out. This paper isn’t very expensive, but it helps you to keep everything organized. You need to staple it securely to the subfloor.
Time to Get Started
It’s “go time!” When you start your wood flooring installation, you want to work along the longest wall that is free of all obstructions. Remove molding along the floor and start building out from about ⅜” away from the baseboard. You want to leave this room because the boards will expand and contract as temperature levels and humidity change.
Place the first row by using longer boards. This will help you to keep everything straight. Next, begin drilling a few pilot holes into your hardwood and then into the subfloor and the joist. Nail each board at every point and then nail using a nail-set. As you move onto the next board, keep switching up lengths because it will make everything look seamless in the end.
Be sure to always take your first boards and lay them perpendicular to the joists. This will keep everything solid and prevent any movement when you go to install the other boards.
Once you get on a roll, just keep going!
Every So Often, Hand Nail the Rolls
Once you have gotten a few rows installed, drill pillow holes into the tongue of the board and then hand roll the nails so that you can use a pneumatic nail gun.
Staple Down the Boards so They Sit Correctly
Next up, staple the boards with the nail gun. Use the gun lip over the end and then hit decisively with the mallet. This will drive the staple down. Use a first, straight hit for the best results.
Fit & Cut the Baseboards
Next, cut along the baseboards to get a good fit. You want to leave another foot and cut it off. Then, you will be able to use the start of the piece on the next row. You will be able to save some product and some money there. Cha-ching!
Make Any Aesthetic Changes
Now that you have worked your way across the floor, you will want to take a few steps back to ensure that everything fits. You are likely to see some gaps, and you can fill those in with wood, making sure to leave any room for expansion. You can also use putty in cracks around the outside of the flooring.
Patience and a watchful eye are key. You should do this step every so often, so you can make changes along the way instead of when you have the entire floor laid.
You’ll Experience Some Trouble Near the End
As you start to get near the end of the process, you are going to start to experience some issues with the nail gun. You won’t have a ton of room for clearance. You will need to be more careful and diligent with your cutting and nailing process. You absolutely must use a nail-set and drilling of pilot holes to get a good result here.
Once again, remember to leave some room for expansion at the end. You don’t want a solid fit like a puzzle because this will cause cracking or buckling later on.
Make Your Final Aesthetic Changes
Replace the shoe molding around the room and then putty in any nail holes that have been exposed. You may want to test the wood putty on those extra pieces of wood because you want to get an exact match if possible.
Fill the hole with the nail putty, and then wipe off the excess before it dries. Voila! You’ve done it!
In Conclusion: That Wasn’t So Hard
Hardwood flooring has come a long way - and the good news is that it’s easier than ever to install now (as long as you follow the steps and trust the process). Now all you really have to do is work on your maintenance and ensure that your beautiful wood floors stay beautiful. Easy enough, right? Make sure to keep that extra wood you have, just in case you ever have anything break or scratch. But in the meantime, enjoy your wood flooring and the satisfaction that comes from knowing you installed them!
Sources:
How to Use a Flooring Nailer & a Mallet | SF Gate


